Editor’s Note: The notes & profiles below were created using the Pro App prior to version 2.5 and Firmware prior to version 23, which introduced a new type of airflow control. You’ll get the best results below when using “Closed Loop” setting on your Ikawa Pro. We’ll be updating our profiles soon, stay tuned.
We’ve been lovingly pushing our little Ikawa Pro Bluetooth-enabled air roasters to the edge of what they’ve been designed to do, and it sure has been fun. We figured now was as good a time as any to offer a few tips and tricks for programming your own roast, and share a few of our favorite profiles.

On Startup:
- About the highest start temp you can program with success is 375F / 190C. Much higher than that, and the machine will enter its auto-cooling cycle before you can charge your coffee into the roaster.
- I’ve placed two small marks on the cork on the hopper to help me know the exact placement of the opening.
- Lower starting temperatures will enable you to charge your coffee more quickly after pressing start, but may not give you the results you’re looking for.
On Programming:
- Recently I’ve been roasting a few batches back to back, making note of a heat movement at one or two points in the roast, editing the profile in those points, and then immediately repeating. Saving a copy rather than overwriting will enable you to go back and look at the differences.
- Because we publish detailed profiles, we download the spreadsheet file a lot, which is great for you data junkies out there. With the appropriate roast history log, select “Roast graph” and then “Export data.” The file shows you both programmed and the actual temperature (setpoint/temp above, both export in degrees (C) as well as things like your programmed fan percentage, the state of the roast, and the heating element percentage.
- The first crack can happen at high temperatures, particularly if you’re more familiar with using a traditional drum roaster. With the Ikawa, the higher your fan speed at FC, the higher the programmed temperature you’ll need.
- You can “hack” sharing profiles quickly and easily. When you connect to an Ikawa, it will already have a roast profile loaded onto it. You can then download it to your device. This will enable you to connect and upload with one device and then disconnect and connect with a new device to download.
On Fan Speed:
- Minimum fan speed (60%) at the beginning of the roast will give you no fluid bed movement. The coffee will rest on the metal until it (a) begins to lose density or (b) increases airflow.
- Maximum fan speed (90% or above) at the end of the roast might eject your coffee into the chaff chamber, and it will limit your high temperature to 430F or lower. You’ll definitely lose a few beans during roasting while you’re at 80% or more fan speed.
On Cleaning:
- Get some denatured alcohol and a can of compressed air for cleaning. You can use it to quickly clean the interior of the glass top and metal sides of the roasting chamber when they get chaffy.
- Be super careful with the temp probe: don’t touch it. It’s the part that costs all the money.
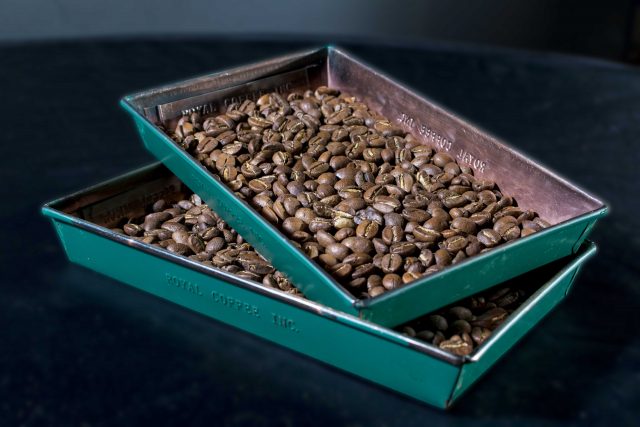
Here are some of our favorite profiles we’ve used for Crown Analysis and other roast applications:
*As mentioned above, the notes & profiles below were created using the Pro App prior to version 2.5 and Firmware prior to version 23, which introduced a new type of airflow control. You’ll get best results below when using “Closed Loop” setting on your Ikawa Pro. We’ll be updating our profiles soon, stay tuned.
Jen Apodaca:
- The 5:15 / 406 “Wave” – a multi-use profile with great capability for showcasing a coffee at a sample roast level. Works well for nearly any type of coffee.
- The 4:45 / 408 Long Maillard “Wave” – a shorter roast with a longer Maillard stage with potential application for low moisture/water activity coffees.
- The 5:15 / 412 Late Wave – a modification of the wave that delays the dip and rise in airflow, seemingly accenting jammy fruit sweetness in some recent trials
Chris Kornman:
- The 5:15 / 425 Low Charge High Airflow Mod – a profile that accents the delicate floral notes of Ethiopian type coffees at the expense of viscosity
- The 6:00 / 430 Low Charge High Airflow Mod – longer, with a higher-end temperature, this profile works well for natural or lower density coffees like Sumatras you’d prefer to develop a little past first crack
- The 5:30 / 425 Forced Extremes – a useful sample roast for high-density coffees that exaggerates the high and low temperatures at the beginning of the roast.
Need help?
At The Crown, we offer consultation services from introductions to roasting and cupping, to advanced skill sets like QC program development, and more. Take a look at our standard packages or email us at thecrown@royalcoffee.com to customize your training to your needs.
Latest Articles by The Crown

Now Hiring – Barista for The Crown: Royal Coffee Lab & Tasting Room
Now Hiring: Barista for The Crown: Royal Coffee Lab & Tasting Room Passionate about specialty coffee & service? This is for you! Barista Responsibilities: Stellar Customer Service & Beverage Excellence...
How to Master the Coffee Bloom for a Perfect Pour-Over
Mastery of the coffee bloom lies in full saturation, restrained water volume, and avoiding unnecessary extension. When done correctly, the bloom quietly sets the stage for pour-over clarity, sweetness, and...

Hey Mambo! Assume Nothing Drink Recipe
By Asha Wells “Assume Nothing!” A mantra for The Crown as we worked towards opening our doors in March of 2019, the phrase became a Menu section, encouraging our visitors...
Would love to see a natural processed ethiopian profile that highlights fruit flavors. In particular berry flavors and not generic acidity. Any tips? Thanks!
Hey George, thanks for reading. Couple suggestions: we had some fruity results with Jen’s profile listed 3rd above: The 5:15 / 412 Late Wave. Also, you might check out the Ikawa analysis for our most recent natural Crown Jewel, CJ1201 Bedhatu Jibicho, where she applied 3 different roasts with unique results.
Great, one thing I’ve seen in your profiles that I haven’t seen in the others Ikawa hosts on their site is the increasing fan speed on the second half of the roast. That alone has helped.
I deeply appreciate the work and time Chris & Jen put into sharing their roasting notes, and I am sure it can be very repetitive. That said, it is of great value to the people who buy and roast your beans. I am roasting on a fluid bed Artisan 6M by Coffee Crafters. And I am wondering if you think there is logic to applying your timings and temps to my roast.
First, are you sampling 250g or 500g in the Ikawa? Hi fan speeds have a huge impact on low volume. I have not tried 5 minute roasts, which are the norm here. Is that a result of a lower volume? If so, would you ramp up your times to 8, 10 minutes if you were roasting 1 lb – 5 lb volumes? To move those volumes, there would have to be more air and heat to convect. What are your thoughts?
Hi Chuck, thanks for reading and for your questions. The Ikawa can only handle about 50g at a time, so the volume of coffee is quite small. Roast time, I think, is largely dependent on the power of your machine, the mass of coffee, and your taste preferences; the answer will be different for everyone. In the Ikawa, air speed seems to work against the heating element – higher fan settings at the end of the roast result in higher FC temps, for example. The profiles we’ve selected have evolved after months of trial & error, testing the limits of the machine. My experience with commercial fluid bed roasters is very limited, but my suggestion would be that, yes, there will be some degree of ‘scaling up’ when using larger volume & capacity roasting equipment, and also some degree of “well, here’s what worked on the Ikawa, but my machine is different, so what can I do to get similar results within the constraints of the equipment I’m using?” Unfortunately, not a very tidy answer… but an honest one. Good luck!
Hi Chris. That completely explains it. My sample volumes are 250g and my micro-batches are up to 5 lb, so I wondered about all the things in between and you’ve explained it. Keep up the great work! I read all of them. 🙂